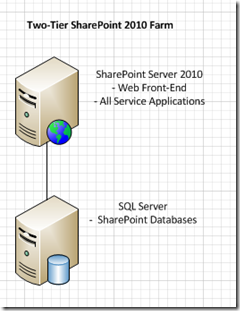
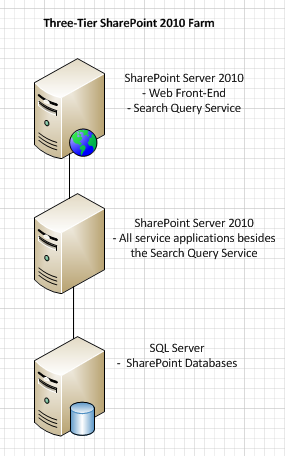
This is a step by step process to upgrade a SharePoint 2010 site to SharePoint 2013. Since this is a live migration, it is suggested to do proper backups of the server and the database before starting. During the live migration process anything that happens in between like adding new items to a list or deleting any page will not be captured after the copy database has been performed.
1. Install SharePoint 2013 on a new separate server.
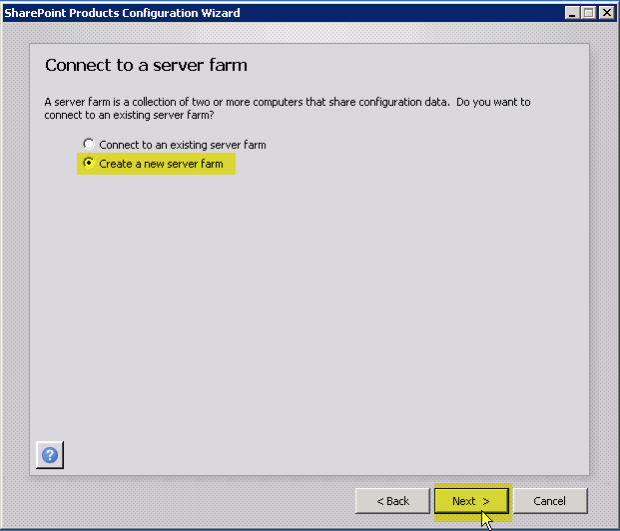
2. Run the Configuration Wizard.

3. Choose “Create a new server farm”.
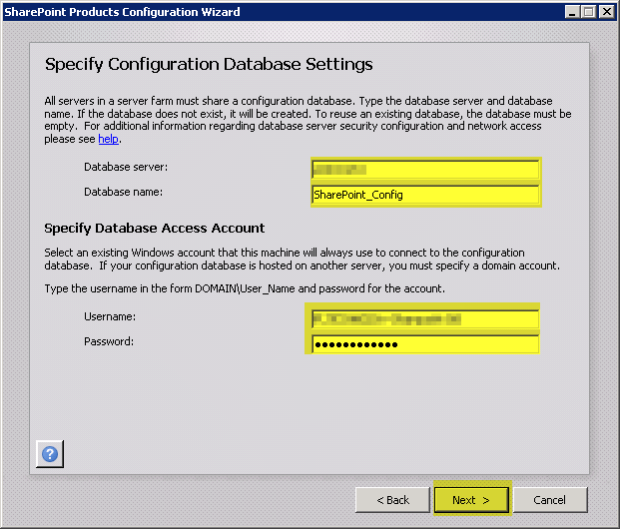
4. Choose a server and a database name.
5. Set a passphrase then store it in a secure location, this will be needed in the future.
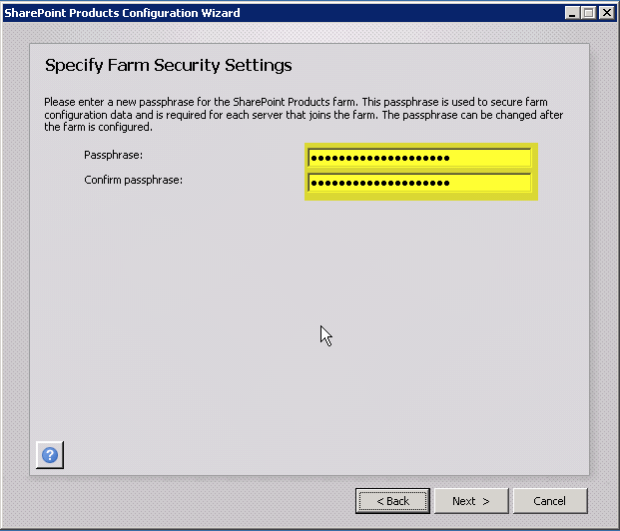
6. Specify a Port Number if it is not set by default and choose a security setting.

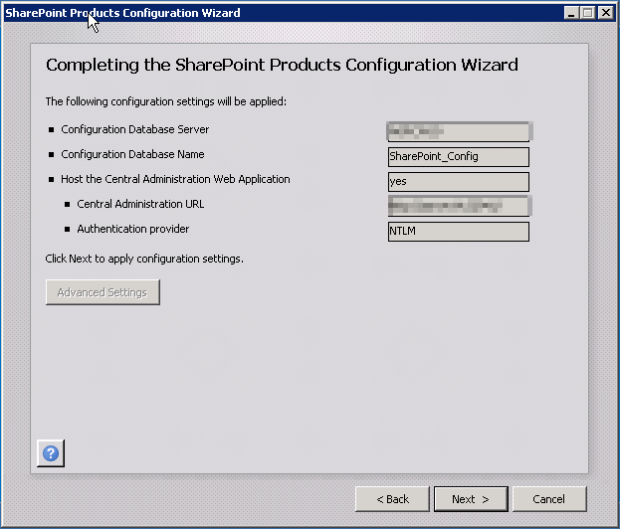
7. Verify if all the values are correct and then click Next.
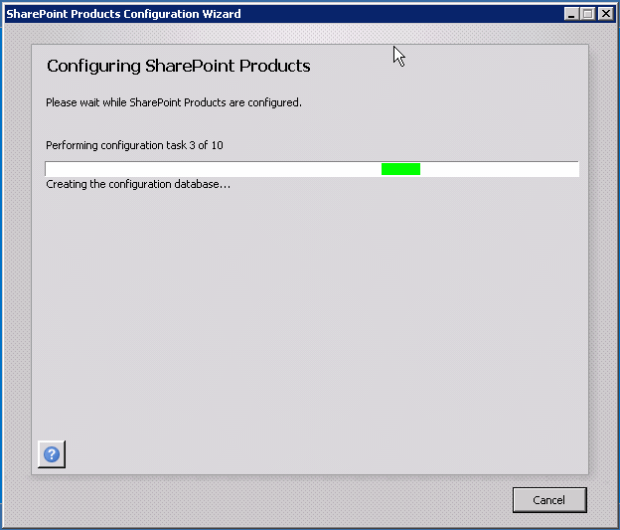
8. Wait till all the configuration tasks are performed.
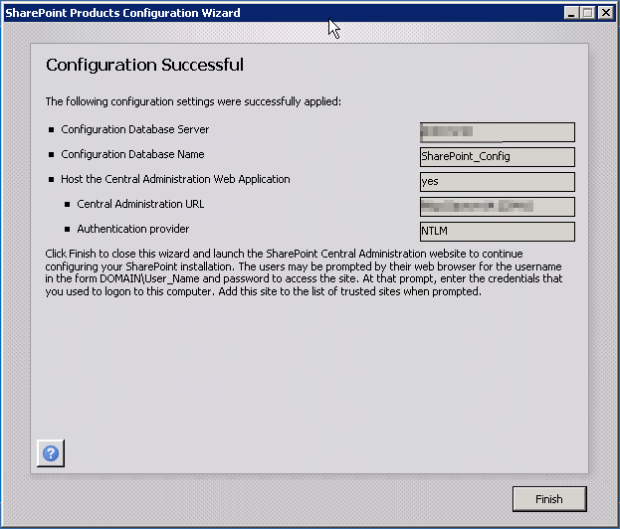
9. If all the tasks are completed then the "Configuration Successful" screen is displayed. Click Finish.
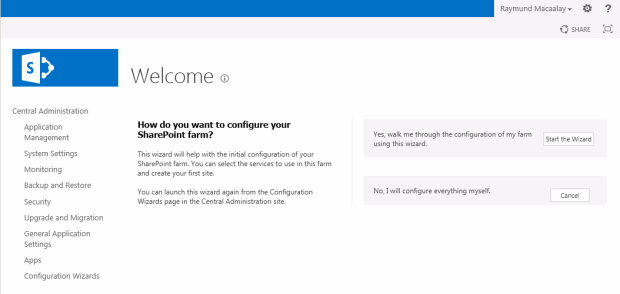
10. Go to the SharePoint 2013 Central Administration of the new SharePoint installation. If the below screen is displayed then the installation completed successfully.
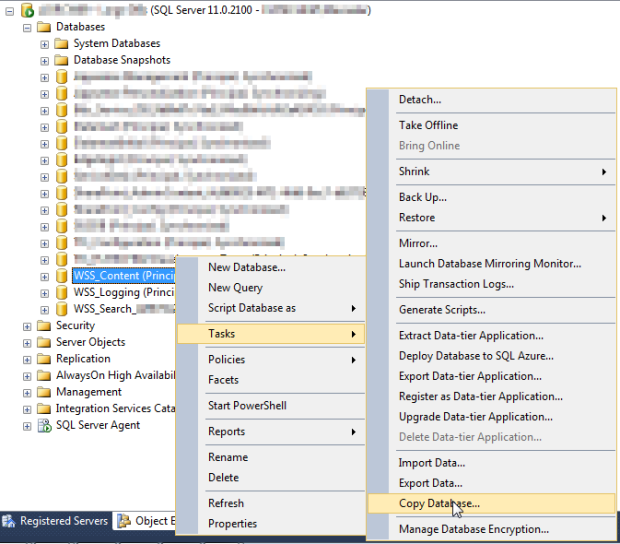
11. Go to the old SharePoint database, then copy the WSS_Content database.
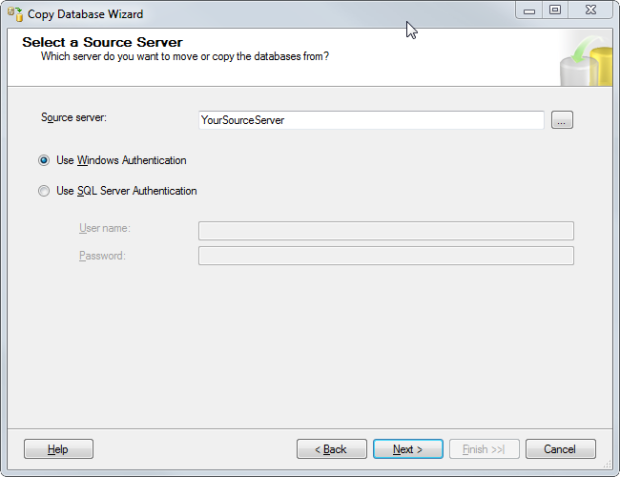
12. Verify source server properties.
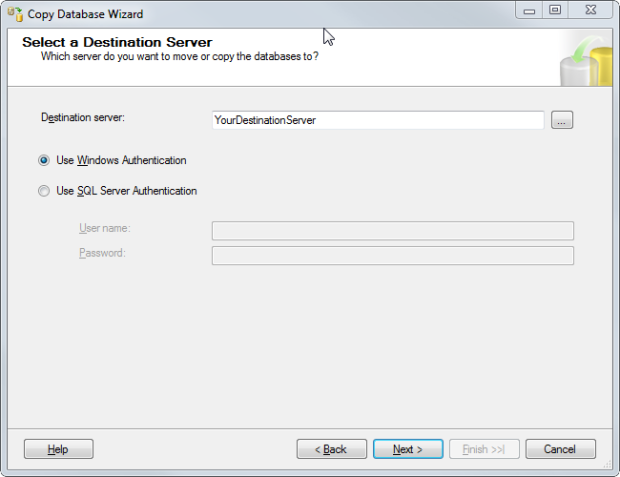
13. Set the destination SQL Server.
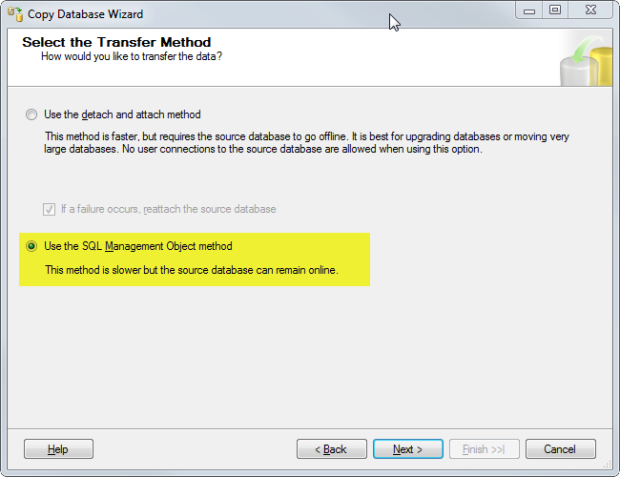
14. Select the Transfer Method, "Use the SQL Management Object method" if you want a live migration.
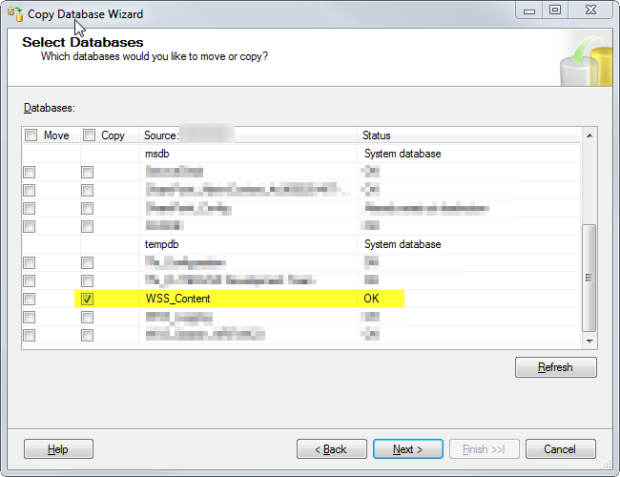
15. Select a database to copy, you will only need WSS_Content.
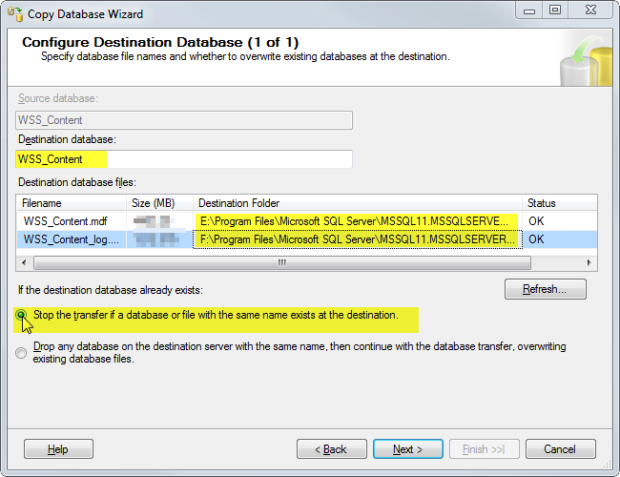
16. Configure the properties of Destination Database.
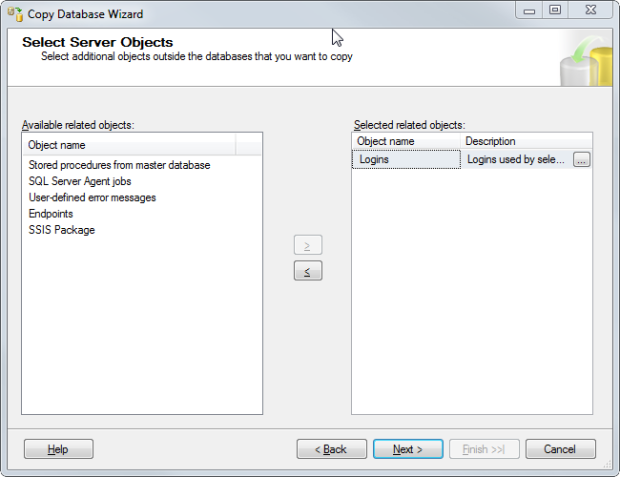
17. Select Objects, you only need Logins here.
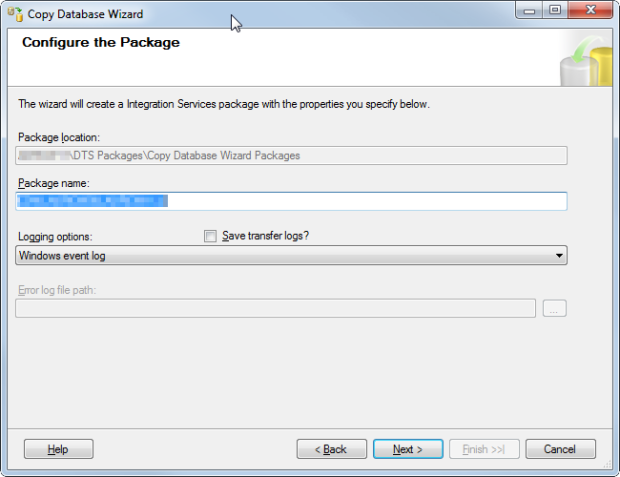
18. Configure the package created.
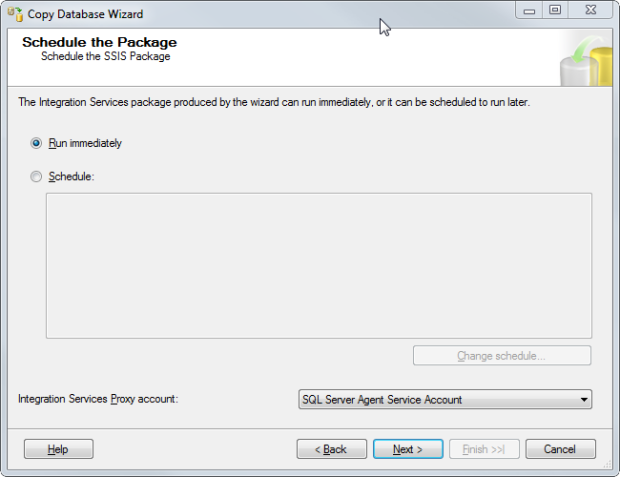
19. The package can be run immediately or can be scheduled to run later.
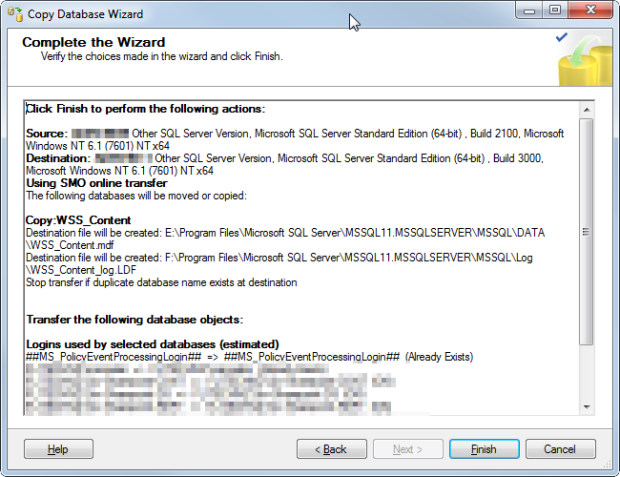
20. To complete the wizard click Finish.
21. Wait till the operation is complete.

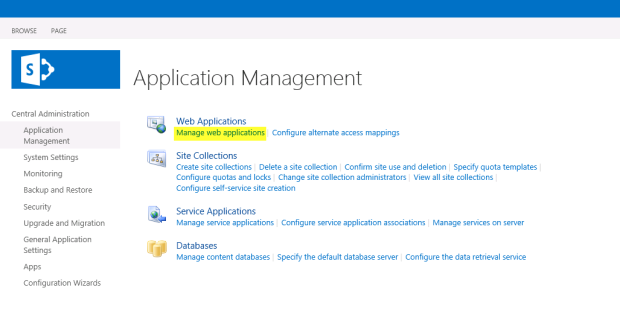
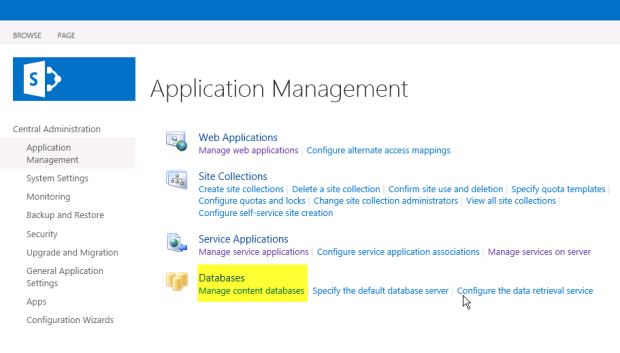
22. Once the operation is completed, go back to SharePoint 2013 Central Administration and set your SharePoint instance to use the copied WSS_Content database. Go to Application Management -> Manage Web Applications.
23. Create a new Web Application.

24. Set the new web application properties.

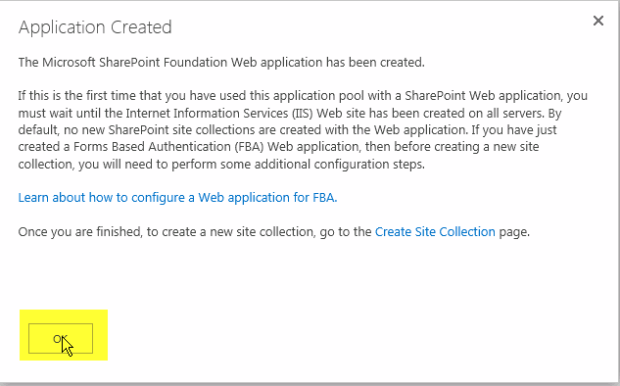
25. The new Web application is now created.
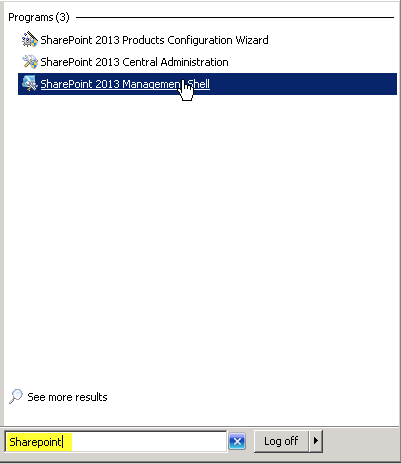
26. The new web application has to be set to use the copied WSS_Content database. This must be done in SharePoint 2013 Management Shell.
27. Test the database you just copied over by giving this command:
Test-SPContentDatabase -Name WSS_Content -WebApplication http://YourNewSharepointServer

28. Mount the database by giving the command.
Mount-SPContentDatabase -Name WSS_Content -WebApplication http://YourNewSharepointServer

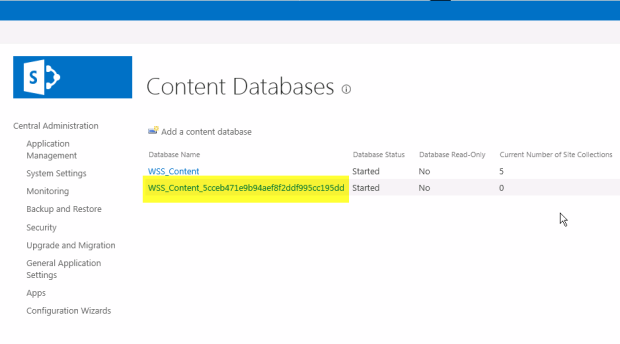
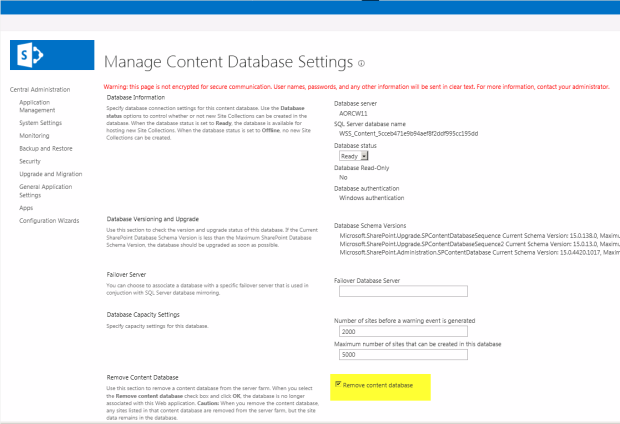
29. After the new database is mounted, you need to delete the default WSS_Content database created during the installation process.
30. Choose the default WSS_Content instance, if it's a fresh install usually it's the one with zero site collection items.
31. Select remove, then click OK.
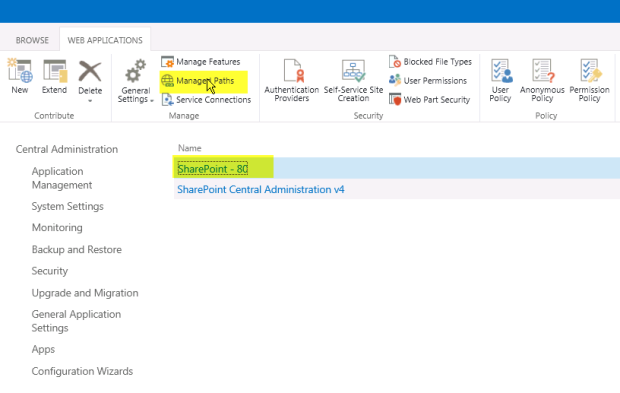
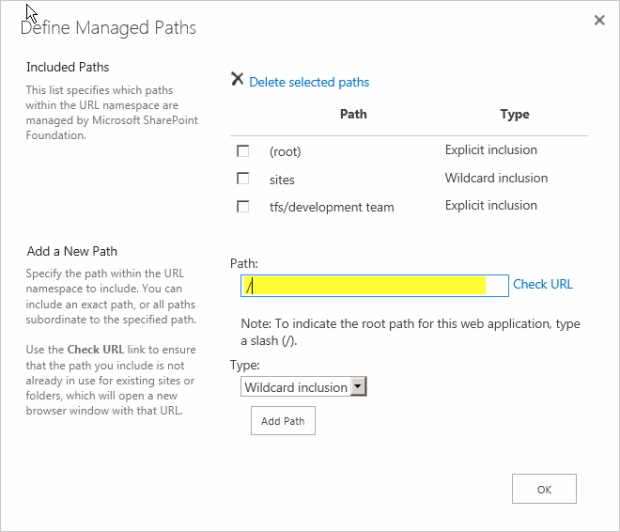
32. Set the Manage Paths.
33. Give the values same as the old SharePoint 2010 instance.
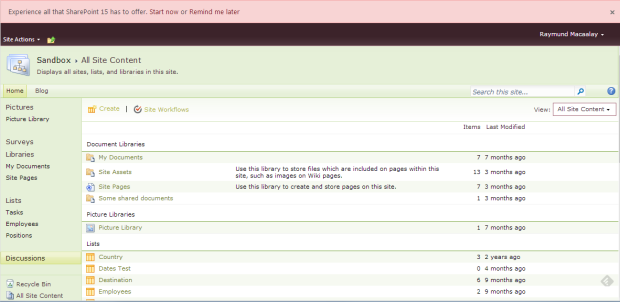
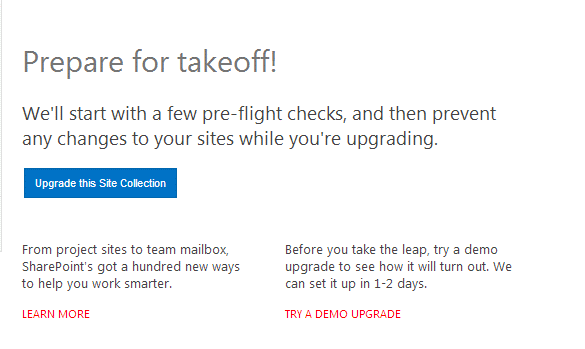
34. The SharePoint site is now upgraded, to get the latest look and feel, in the pink ribbon on top, click on start now to start upgrade.
35. Click the "Upgrade this Site Collection" button.
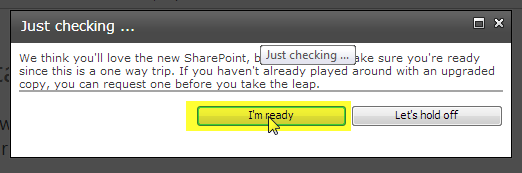
36. Next click the "I'm ready" button.
37. After some checks are done, the processing is completed.

38. If there are any problems they will be shown in next screen. The issues in red have to be fixed before continuing. The orange ones are warnings.
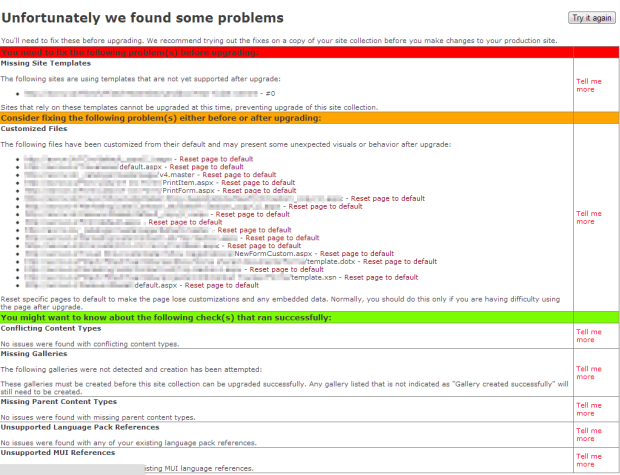
39. Click again on the start now ribbon when all in red are fixed, it will be by a case to case basis. After upgrading the page will refresh automatically.

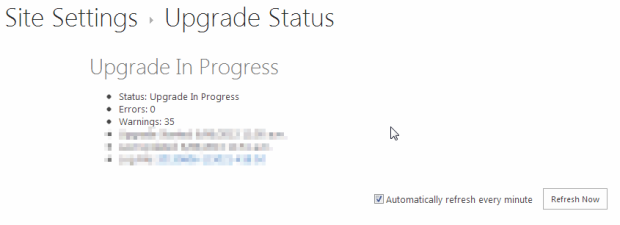
40. It will show the progress once it is refreshed.
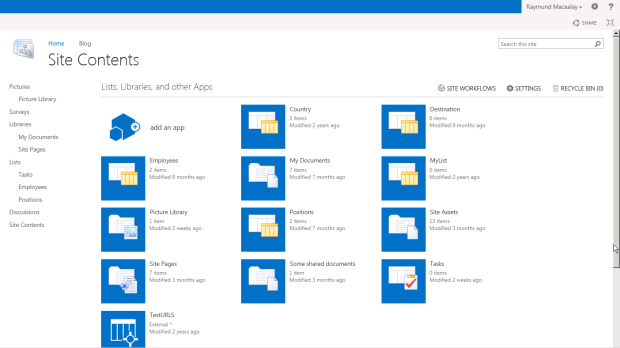
41. If everything is upgraded correctly the below screen is displayed.
 .
.
 Subscribe